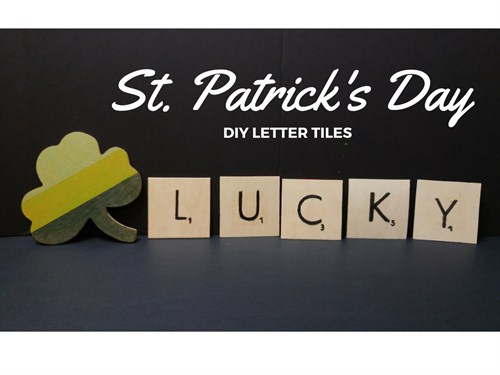
Happy St. Patrick's Day! We're hoping your day is full of fun,
green goodies!
Here at Mohawk we don't usually go all out for St. Patrick's Day
with home decorations. But it is nice to add a few festive touches,
especially if you have kids. Join us in adding some excitment to
the day, whether it's with this cute craft or some small green
touches. Greenery is the color of the year afterall, so whip up a
few quick DIY crafts to celebrate this fun day!
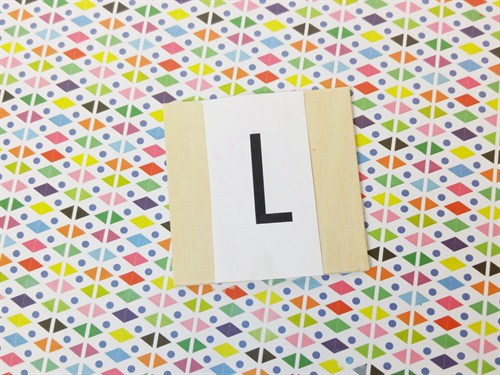
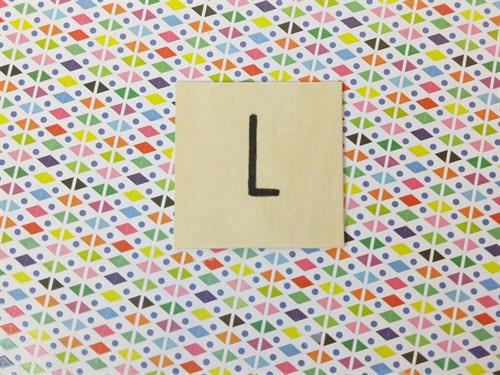
We made these Scrabble inspired letter tiles and they were super
easy to do. Here's what you'll need:
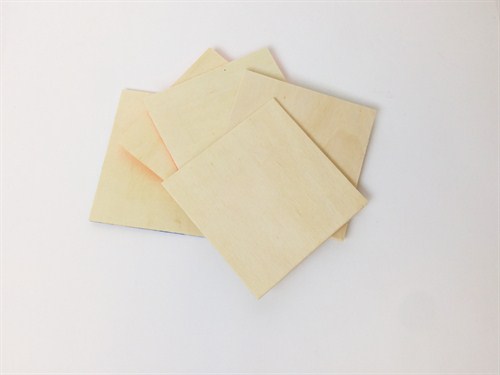 Start by gathering your wood tiles. We used
2"x2" tiles but the size doesn't really matter, it depends on your
preference and the look you're going for! You could even use any
scrap wood you have laying around.
Start by gathering your wood tiles. We used
2"x2" tiles but the size doesn't really matter, it depends on your
preference and the look you're going for! You could even use any
scrap wood you have laying around.
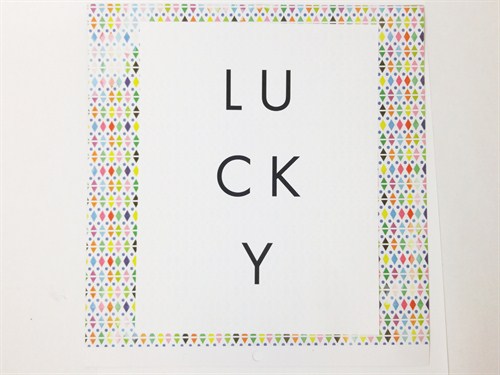
Then you'll want to print off the word
"lucky" to match the size of your tiles. Just eyeball the
dimensions, it might take a few tries to get the sizing right.
After you get it exactly how you want, cut around the letters so
they resemble the tiles.
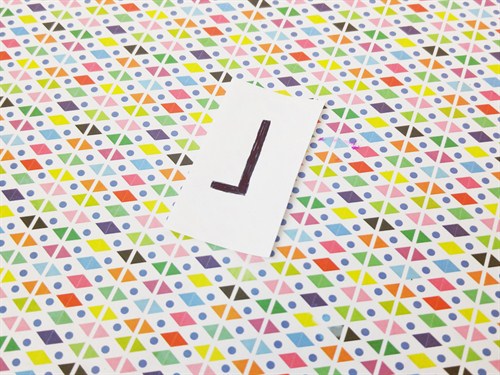
Flip the letter over and put it on a
light surface so you can see the original outline of the letter on
the other side. Trace and fill in the shape of the letter with any
pen or pencil.
With the paper right side up now,
center it on the tile. The side you traced should be diwn against
the wood tile.
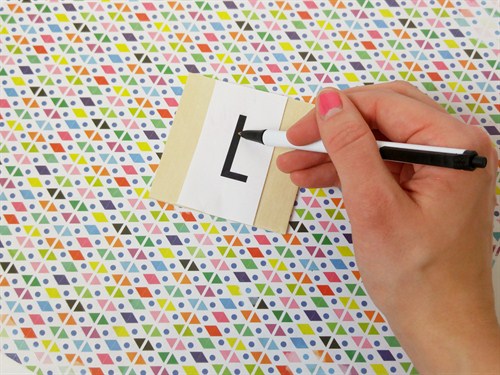
Using your pen or pencil trace over
the outside of the letter, pressing firmly. This will transfer the
part you previously colored in onto the wood tile, making it easier
to write neat and clean letters.
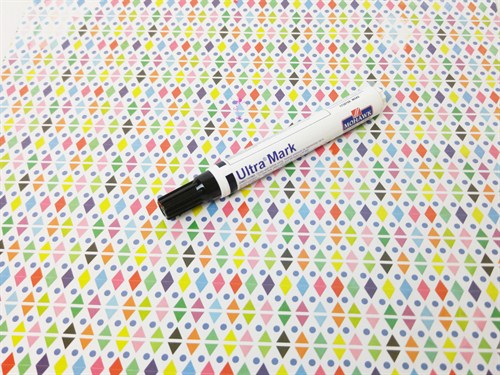
Now you'll want to grab your
handy dandy Ultra Mark, a fast drying stain marker, to write on the
tiles.
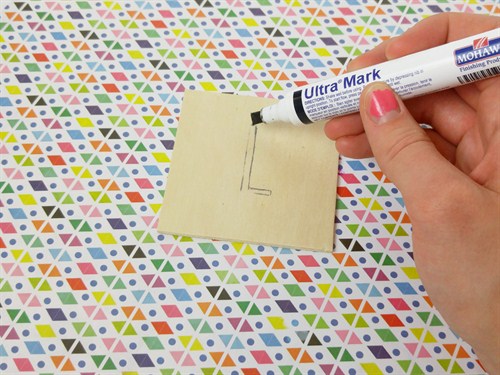
Using a corner of the tip for more
accuracy, start filling in what you outlined. For a step-by-step
guide and video on how to use the markers, click here.
Repeat this process with the remaining
letters.

For the final step add the numbers and
then you're done!