By: Eric, Mohawk Digital Marketing Intern
As Alissa finished her DIY Medal Rack (if you didn't see it,
look here), I decided to try my hand at something
DIY related. My sister has an extremely chic and modern home,
so I wanted to give her something that would be functional, yet
stylish. As I looked across Pinterest for inspiration, I ran
across this picture.

I quickly realized that I could make something like that, but
with my own personal touch. So, with the help of a finishing
expert in the family, I bought the needed supplies and started
working.
Items I used:
Solar Lux NGR
Dye Stain Van Dyke Brown
Rust-Oleum
Chalkboard Paint
Sand Paper (80
for the belt sander, 120 random orbital sander, and 220 grit to use
afterwards)
Wood
Filler
Behlen Vinyl
Sealer
Painting
Tape
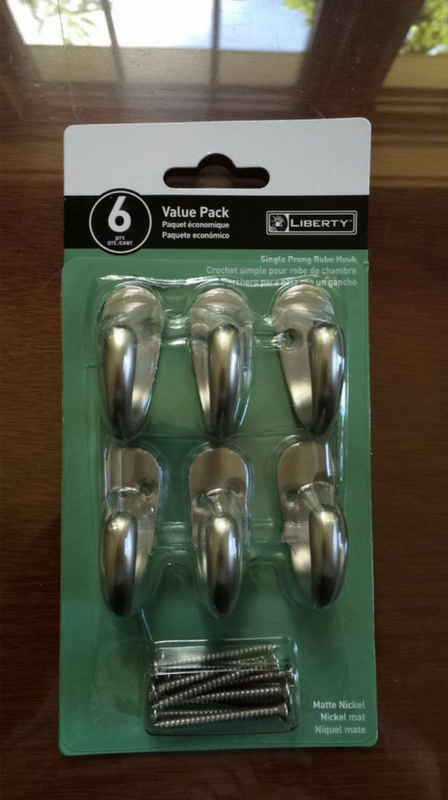
Liberty Single
Prong Robe Hook
Extra Heavy
Duty 2 Hole D Ring / Triangle Picture Frame Hanger
Wood Pallet
(we got ours from Hobby Lobby - see picture below)

The Process:
Step 1: Since board was extremely rough and needed to be
sanded, we took 80 grit sanding belt and used a belt sander to
remove a large majority of the rough characteristics of the wood.

Step 2: After we ran the belt sander over the surface, we
attached a 120 grit sandpaper to a random orbit sander to remove
and smooth out the next layer of wood. This tool enabled us
to get the hard to reach regions of the wood that could not be
reached with the belt sander.

Step 3: Finally, we took 220 grit sandpaper and finished off the
sanding process. We went with the grain and finished
smoothing out the entire surface. Pro-Tip: If you are unable
to get 220 grit, rubbing 120 together gives you a make-shift 220
grit paper.

Step 4: Tape off all of the areas that you do not want to get
the Rust-Oleum Chalkboard spray on. We were very thorough
with the tape, and made sure that it only was shot on the top piece
of wood. Before we sprayed the Chalkboard spray, we went over
the top piece of wood with wood filler to fill in the pores of the
wood before applying the paint.


Step 5: With the tape applied, we took our Rust-Oleum aerosol
and began shaking. We shook for around a minute to make sure
all the content in the can activated. We did a trial spray
lower down on the body of the pallet to see how it sprayed.
You want to make sure you start to spray before you actually
hit the wood. This will ensure an even coat. We did two
coats since there was a nut in the top board (oops, poor
planning).

Step 6: Once your chalkboard spray has dried, it can be
activated in 24 hours by rubbing the side of a chalk stick across
the entire board. Once it had dried, we masked off the
chalkboard section. Apply stain. We used the Solar Lux NGR
Dye Stain in Van Dyke Brown. The Solar Lux stain dries very
quickly, and if you get it on your hands, it comes off with warm
soapy water and a brillow pad (or the back of the sponge used in
kitchens). Make sure you start on the back first since stain
will most likely transfer to the front. Apply it quickly, and
wipe off the remaining stain after applying with a paper towel.

Step 7: After the wood has dried, we took our Behlen Vinyl
Sealer and sprayed 5 thin coats on the front and back. We did
this to protect the stain and seal the color in. The aerosol
is great because it's one less brush you have to worry about
cleaning. After each coat, we took 220 grit and gave it a light
sanding. The minimum amount of coats you want to do is
between 4-5; however, the more the better.

Step 8: We mounted our brackets for hanging this piece. We had a
couple of mounting hooks leftover in the basement from previous
projects, so we used those. If you are not sure what to buy,
we have something that looks like this. We
made sure we had two points for mounting to make sure that the
pallet wouldn't sway from side to side as a coffee cup was taken
off.

Step 9: After the mounting brackets have been added, flip your
pallet over and begin laying out your hooks. I purchased some
matte nickel Liberty Single Prong Robe Hooks for about
$7.00. After I purchased the hooks, we set them out in the position
we wanted and chose the appropriate screws. We wanted to make
sure the screws could not be seen from the opposite side. We
chose to have four of the five hooks line up with the support beams
on the back, while the fifth was placed in the center.
We had to pre-drill the holes with a small drill bit to ensure
that the wood did not split. As a general rule of thumb, do
not tighten the screws all the way when you first screw them into
the wood. Go around to each and every hook, and progressively
tighten each as you go. Below is how it ended up looking.

The Final Product:
After a total of 2-3 hours worth of actual working, I made
my first "Pinterest" worthy DIY project. The fact that I, a
senior in college with no staining or sanding experience, could
accomplish this, means that absolutely anyone can! If you have any
questions, please, reach out to our Facebook or Twitter .